1
Step 1: Item Assessment & Measurement
We begin by assessing the item to be shrink wrapped, such as boats, outdoor furniture, equipment, or seasonal assets. Accurate measurements are taken to ensure a secure, custom fit that provides proper coverage and protection throughout storage.
2
Step 2: Site Preparation & Safety Setup
Before shrink wrapping begins, we prepare the site by clearing the area, securing the item in place, and setting up safety precautions. This step ensures an efficient installation process while helping prevent damage to the item or surrounding property.
3
Step 3: Protective Framing & Vent Placement
We install any necessary support framing and ventilation to maintain proper airflow beneath the shrink wrap. This step helps reduce moisture buildup, condensation, and mildew, keeping the item protected and in better condition during long-term storage.
4
Step 4: Shrink Wrap Installation
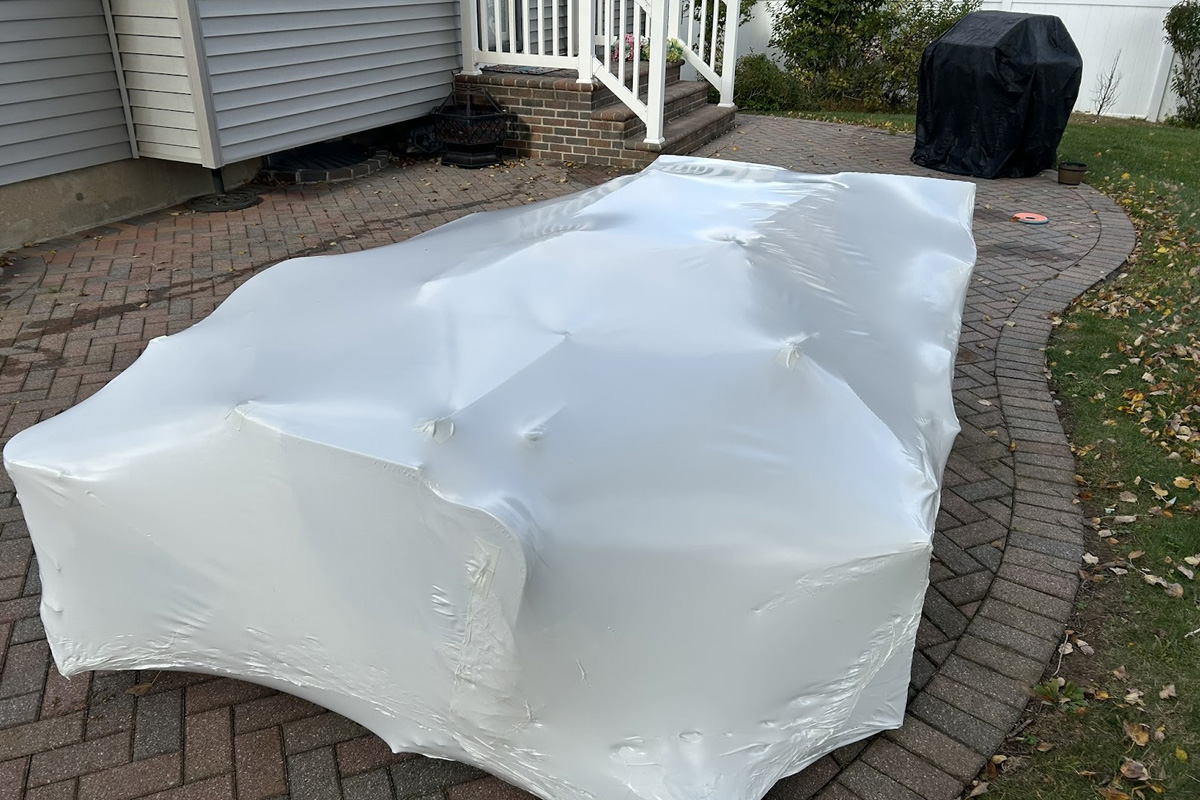
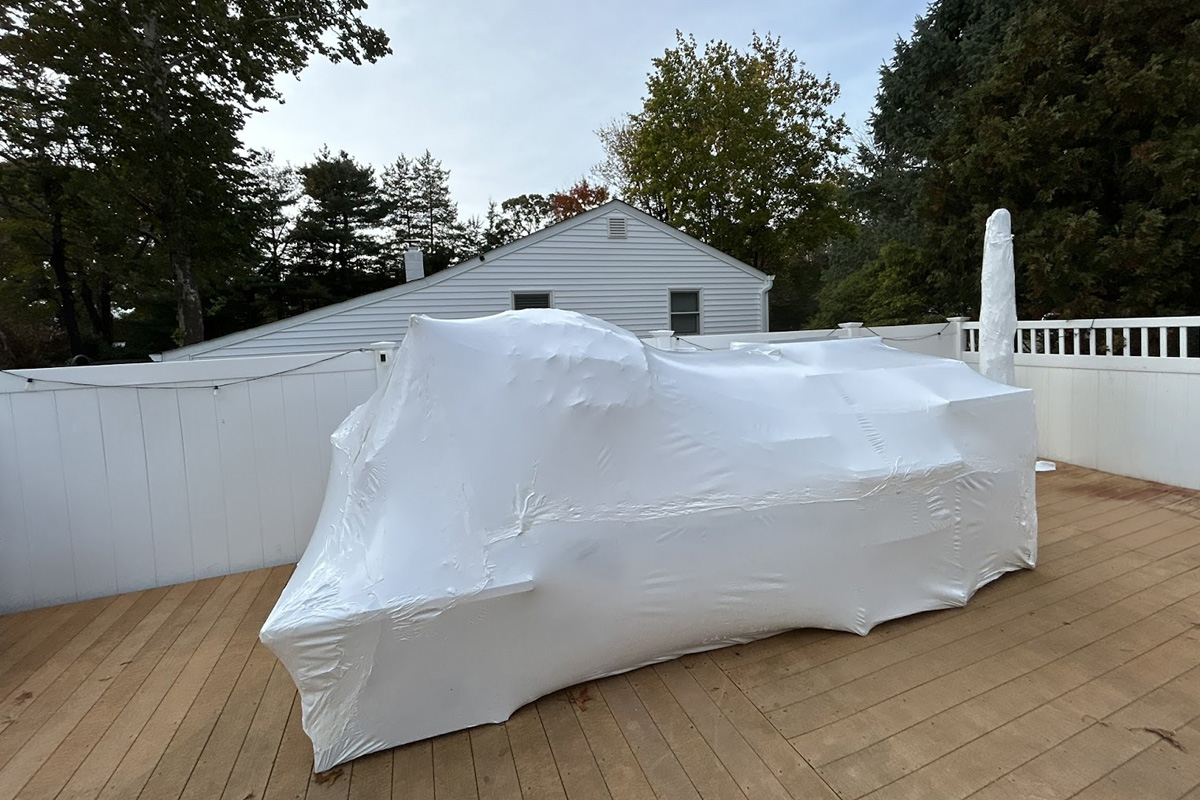
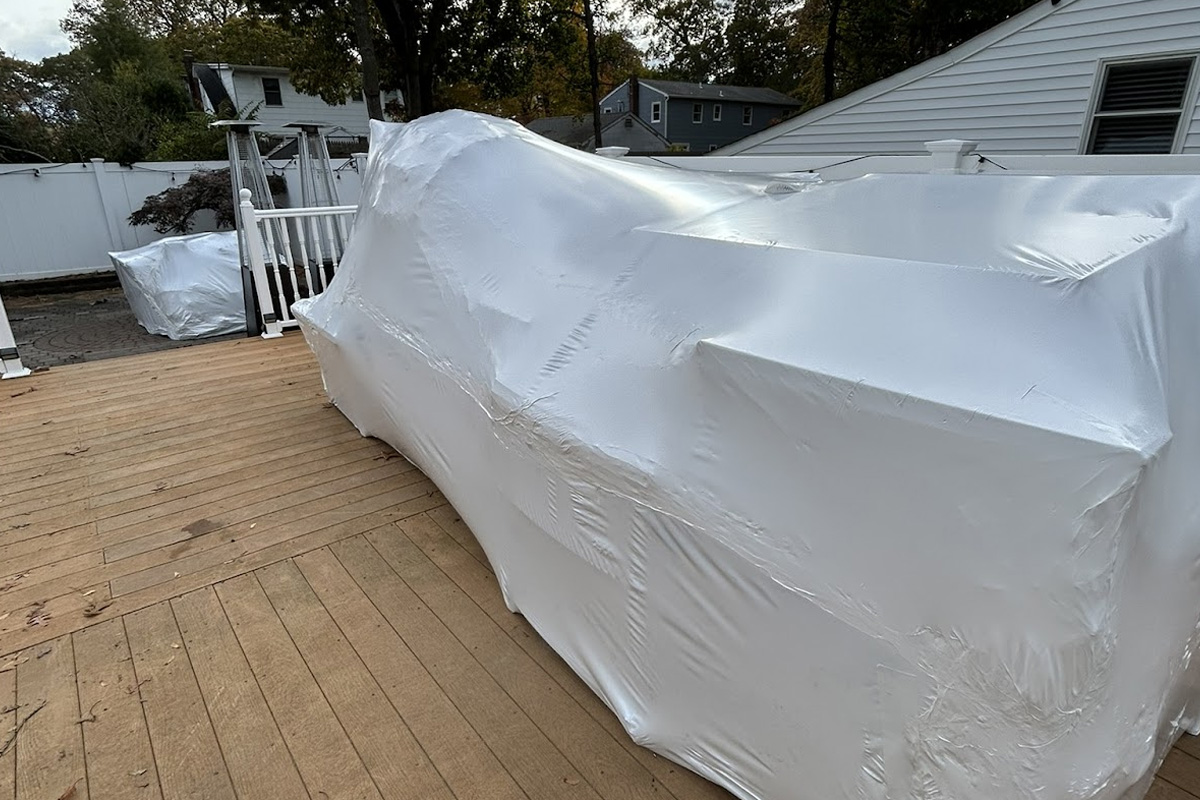
Heavy-duty shrink wrap material is carefully applied and sealed around the item. Heat is then used to tighten the wrap, creating a strong, weather-resistant barrier that protects against rain, snow, wind, UV exposure, and debris.
5
Step 5: Sealing & Final Detailing
All seams, access points, and edges are fully sealed to ensure maximum protection. Doors, vents, and reinforcement areas are carefully checked and secured to maintain durability and allow safe access when needed.
6
Step 6: Final Inspection & Secure Finish
We complete a final inspection to confirm the shrink wrap is tight, secure, and properly ventilated. The work area is cleaned up, and the item is left fully protected and ready to withstand the season ahead.