1
Step 1: Surface Evaluation & Safety Assessment
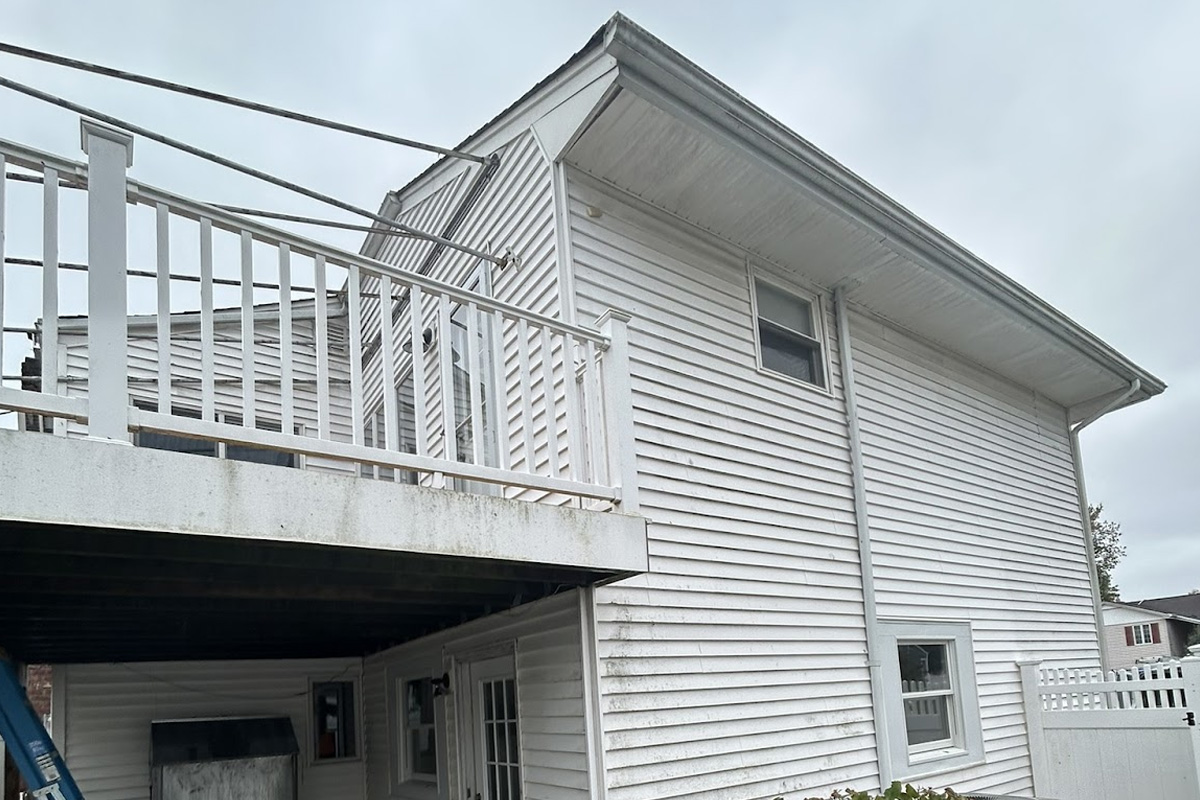
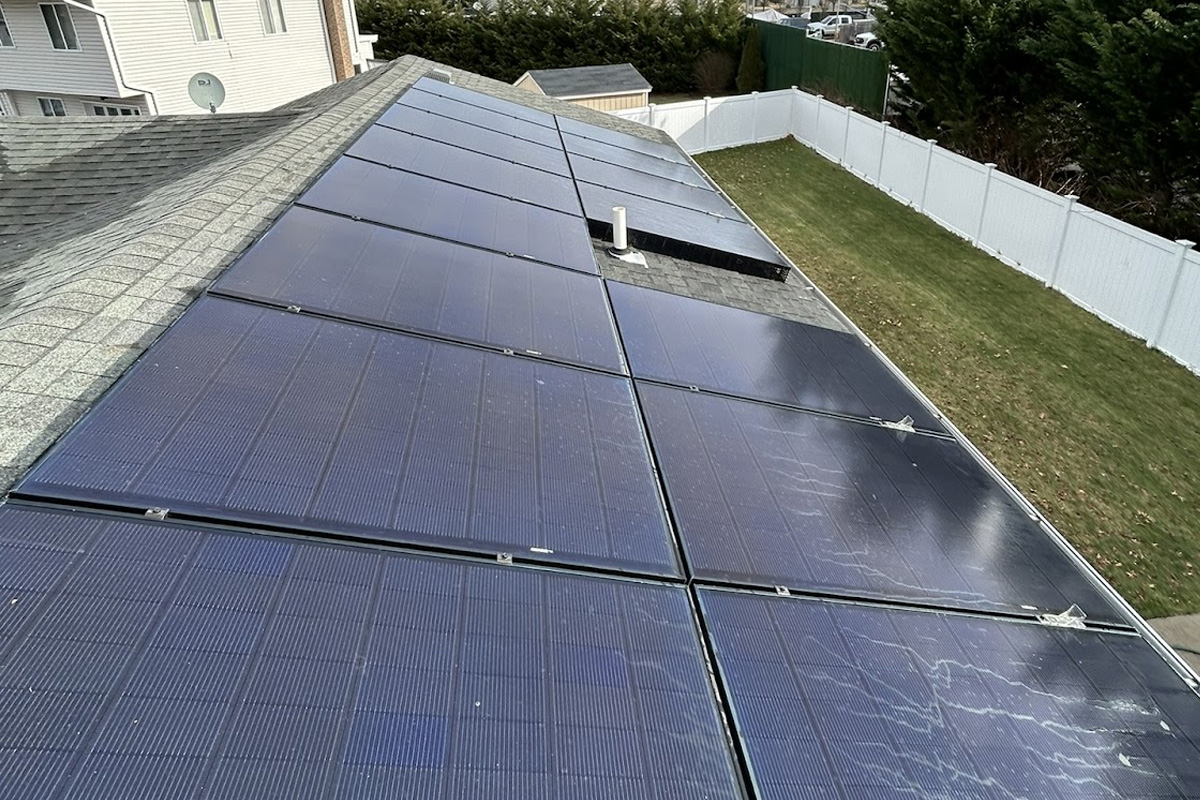
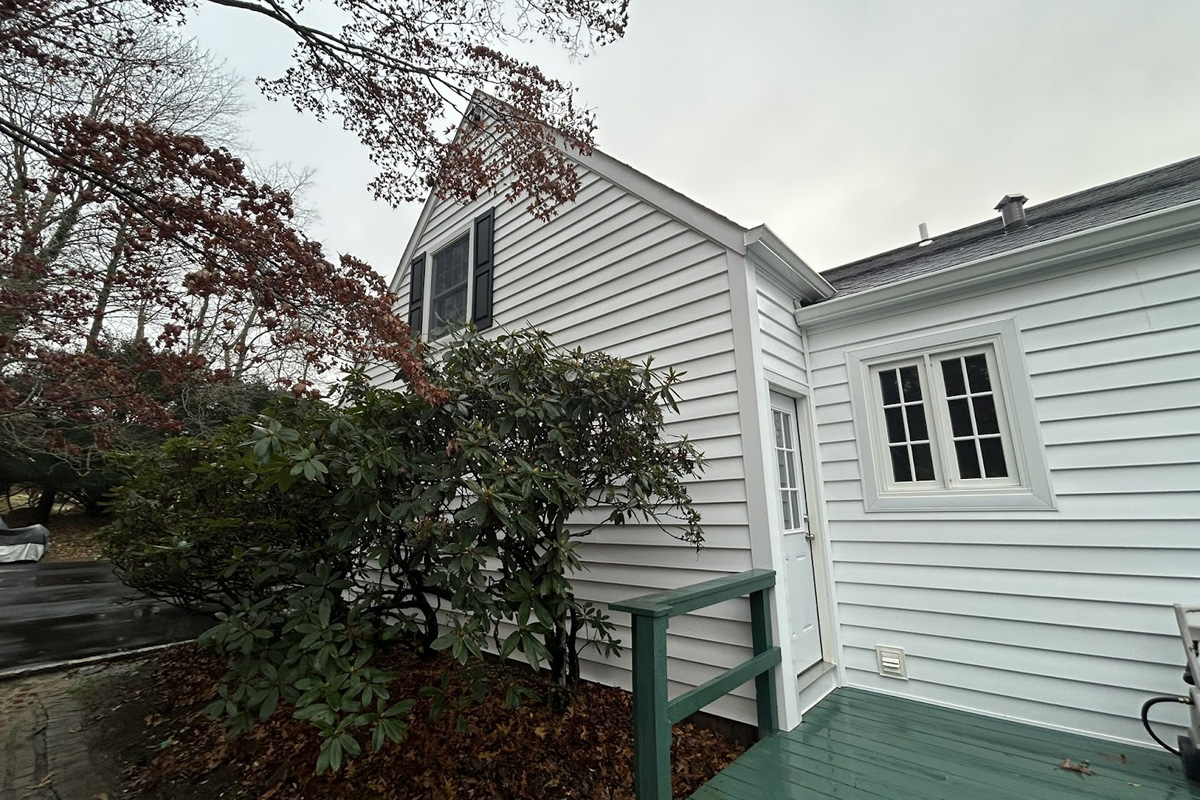
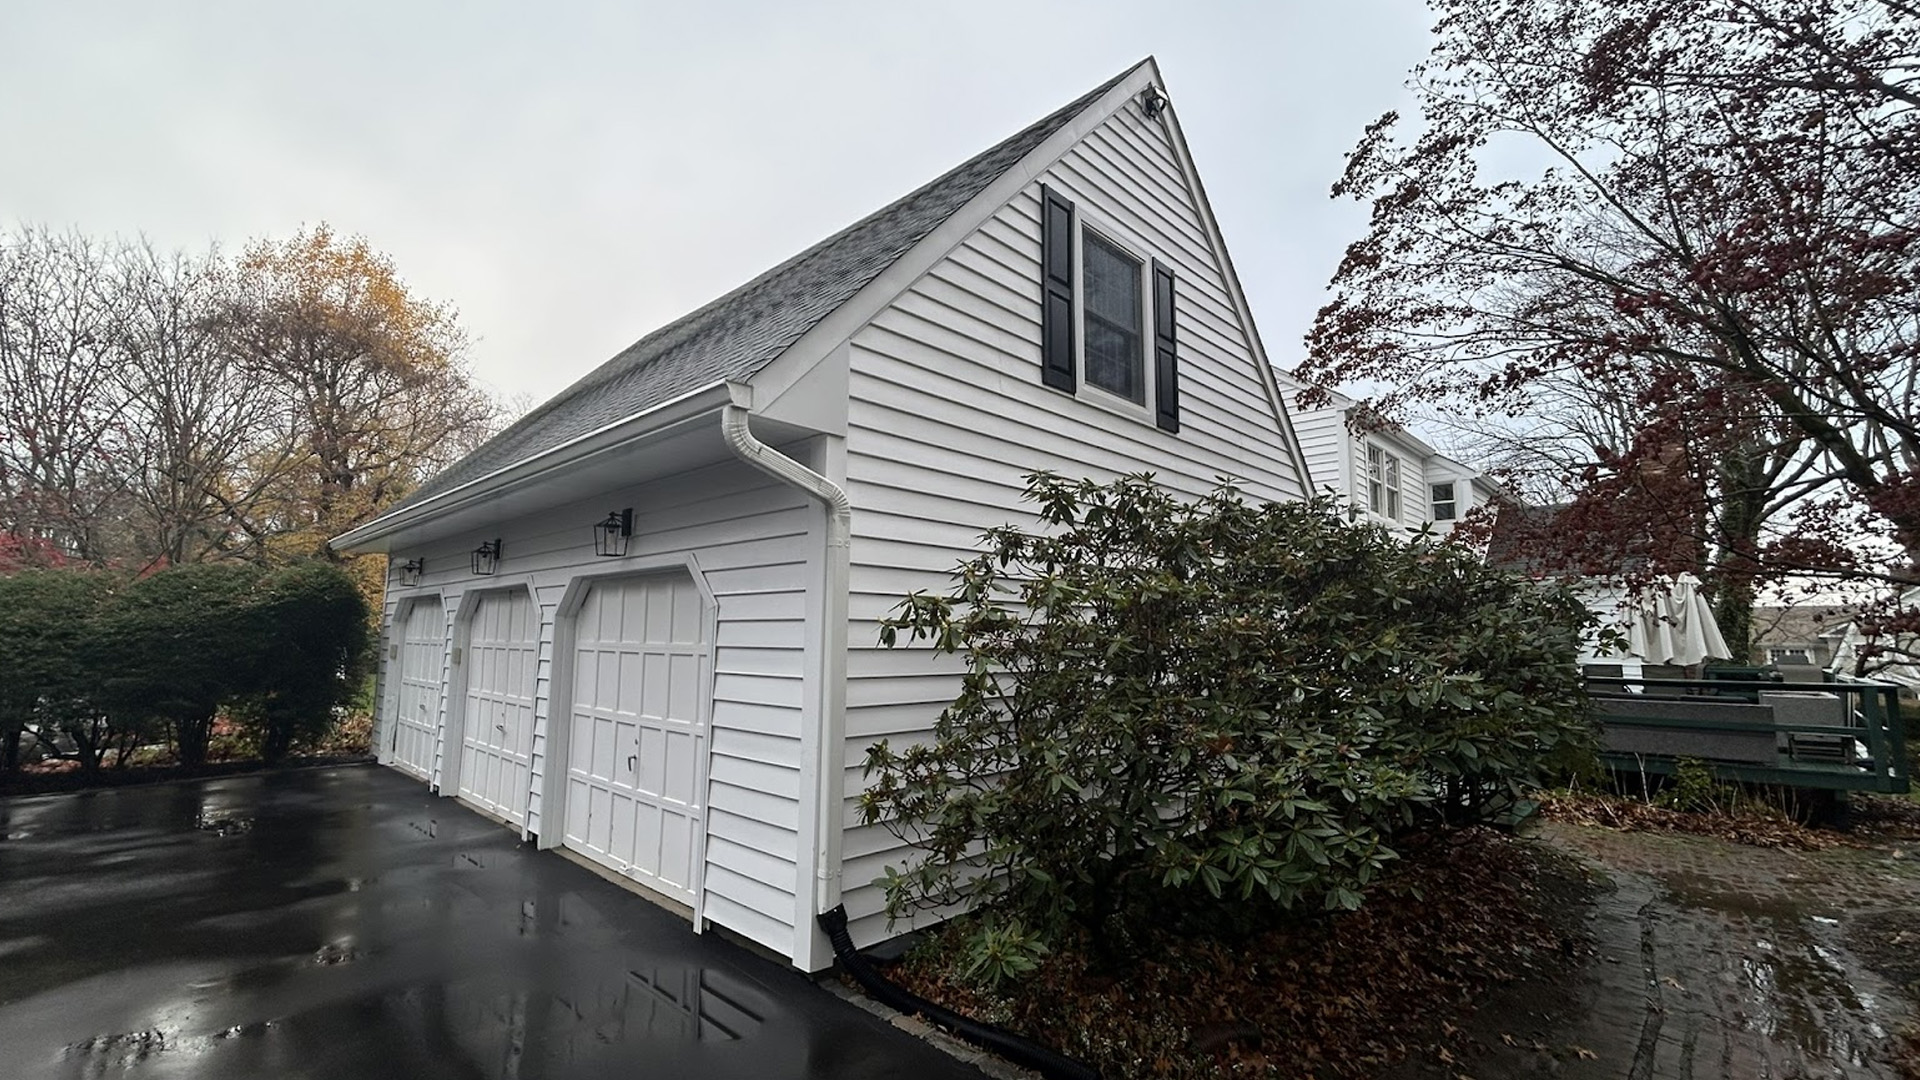
We begin by inspecting all exterior surfaces to be soft washed, including siding, stucco, roofs, fences, and other delicate materials. This allows us to identify algae, mold, mildew, bacteria, and surface conditions so we can choose the safest low-pressure cleaning approach.
2
Step 2: Property Preparation & Protection
Before soft washing begins, we prepare the property by covering sensitive areas, securing outdoor items, and pre-wetting landscaping. This step helps protect plants, paint, windows, and surrounding features while allowing the cleaning process to work effectively and safely.
3
Step 3: Application of Soft Wash Cleaning Solutions
We apply specialized soft wash detergents designed to break down and eliminate algae, mold, mildew, and other organic stains at the root. These solutions continue working after application, helping prevent quick regrowth and providing longer-lasting cleaning results.
4
Step 4: Low-Pressure Soft Washing
Using low-pressure equipment, we gently rinse treated surfaces and allow the cleaning solution to work its magic. This method safely removes buildup without damaging siding, roofing materials, or other delicate exterior surfaces commonly affected by organic growth.
5
Step 5: Detailed Rinse & Spot Treatment
All cleaned areas receive a thorough rinse to remove residue and loosened buildup. We pay close attention to corners, trim, seams, and shaded areas where algae and mildew commonly return, addressing any remaining problem spots as needed.
6
Step 6: Final Inspection & Cleanup
We finish with a final inspection to ensure surfaces are evenly cleaned and free of visible organic growth. The work area is cleaned up, equipment is removed, and results are reviewed so your property is left clean, protected, and ready to enjoy.